Email Notifications
LiteLLM Email Notifications
Overview
Send LiteLLM Proxy users emails for specific events.
| Category | Details |
|---|---|
| Supported Events | • User added as a user on LiteLLM Proxy • Proxy API Key created for user |
| Supported Email Integrations | • Resend API • SMTP |
Usage
LiteLLM Cloud: This feature is enabled for all LiteLLM Cloud users, there's no need to configure anything.
1. Configure email integration
- SMTP
- Resend API
Get SMTP credentials to set this up
litellm_settings:
    callbacks: ["smtp_email"]
Add the following to your proxy env
SMTP_HOST="smtp.resend.com"
SMTP_TLS="True"
SMTP_PORT="587"
SMTP_USERNAME="resend"
SMTP_SENDER_EMAIL="notifications@alerts.litellm.ai"
SMTP_PASSWORD="xxxxx"
Add resend_email to your proxy config.yaml under litellm_settings
set the following env variables
RESEND_API_KEY="re_1234"
litellm_settings:
    callbacks: ["resend_email"]
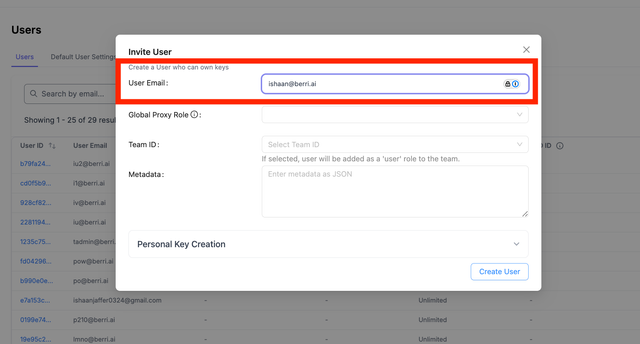
2. Create a new user
On the LiteLLM Proxy UI, go to users > create a new user.
After creating a new user, they will receive an email invite a the email you specified when creating the user.
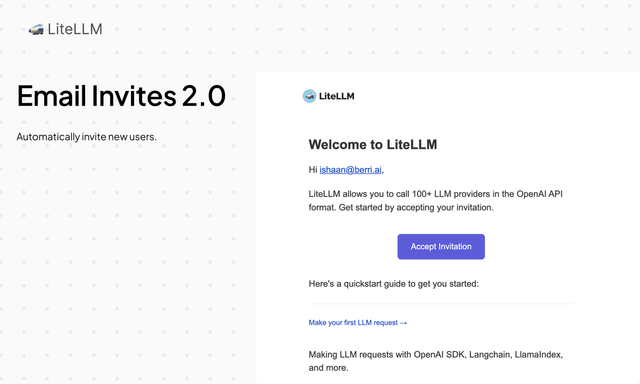
Email Templates
1. User added as a user on LiteLLM Proxy
This email is send when you create a new user on LiteLLM Proxy.
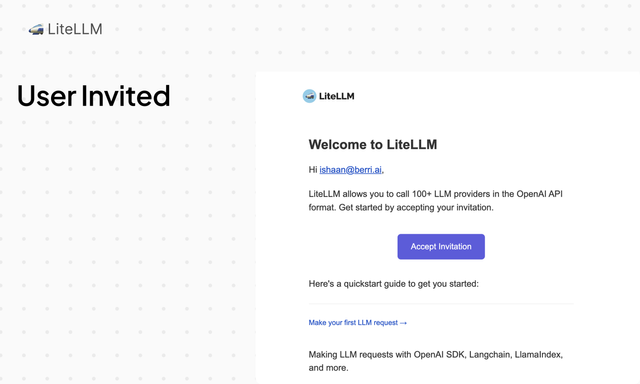
How to trigger this event
On the LiteLLM Proxy UI, go to Users > Create User > Enter the user's email address > Create User.
2. Proxy API Key created for user
This email is sent when you create a new API key for a user on LiteLLM Proxy.
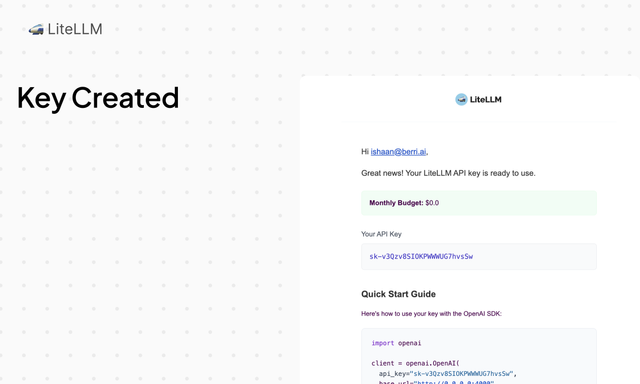
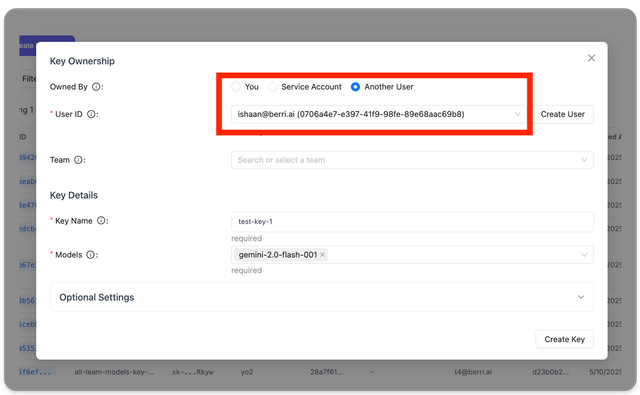
How to trigger this event
On the LiteLLM Proxy UI, go to Virtual Keys > Create API Key > Select User ID
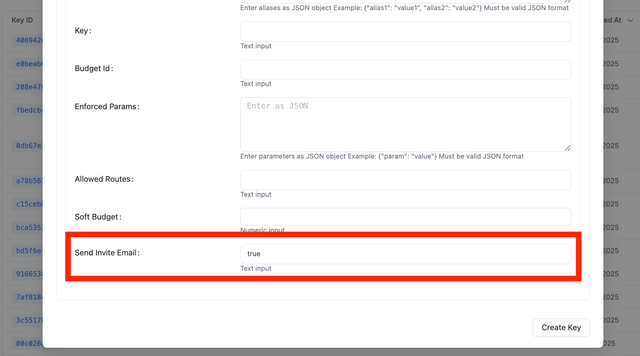
On the Create Key Modal, Select Advanced Settings > Set Send Email to True.
Email Customization
Customizing Email Branding is an Enterprise Feature Get in touch with us for a Free Trial
LiteLLM allows you to customize:
- Logo on the Email
- Email support contact
- Email signature
- Email subject lines for different events
Environment Variables
You can customize the following aspects of emails through environment variables:
# Email Branding
EMAIL_LOGO_URL="https://your-company.com/logo.png"  # Custom logo URL
EMAIL_SUPPORT_CONTACT="support@your-company.com"     # Support contact email
EMAIL_SIGNATURE="<p>Best regards,<br/>Your Company Team</p><p><a href='https://your-company.com'>Visit our website</a></p>"  # Custom HTML footer/signature

# Email Subject Lines
EMAIL_SUBJECT_INVITATION="Welcome to Your Company!"  # Subject for invitation emails
EMAIL_SUBJECT_KEY_CREATED="Your API Key is Ready"    # Subject for key creation emails
HTML Support in Email Signature
The EMAIL_SIGNATURE environment variable supports HTML formatting, allowing you to create rich, branded email footers. You can include:
- Text formatting (bold, italic, etc.)
- Line breaks using
<br/> - Links using
<a href='...'> - Paragraphs using
<p> - Company information and social media links
- Legal disclaimers or terms of service links
Example HTML signature:
<p>Best regards,<br/>The LiteLLM Team</p>
<p>
  <a href='https://docs.litellm.ai'>Documentation</a> |
  <a href='https://github.com/BerriAI/litellm'>GitHub</a>
</p>
<p style='font-size: 12px; color: #666;'>
  This is an automated message from LiteLLM Proxy
</p>
Default Templates
If environment variables are not set, LiteLLM will use default templates:
- Default logo: LiteLLM logo
- Default support contact: support@berri.ai
- Default signature: Standard LiteLLM footer
- Default subjects: "LiteLLM: {event_message}" (replaced with actual event message)
Template Variables
When setting custom email subjects, you can use template variables that will be replaced with actual values:
# Examples of template variable usage
EMAIL_SUBJECT_INVITATION="Welcome to \{company_name\}!"
EMAIL_SUBJECT_KEY_CREATED="Your \{company_name\} API Key"
The system will automatically replace \{event_message\} and other template variables with their actual values when sending emails.